Installation Instructions
(Diagrams as viewed from above)
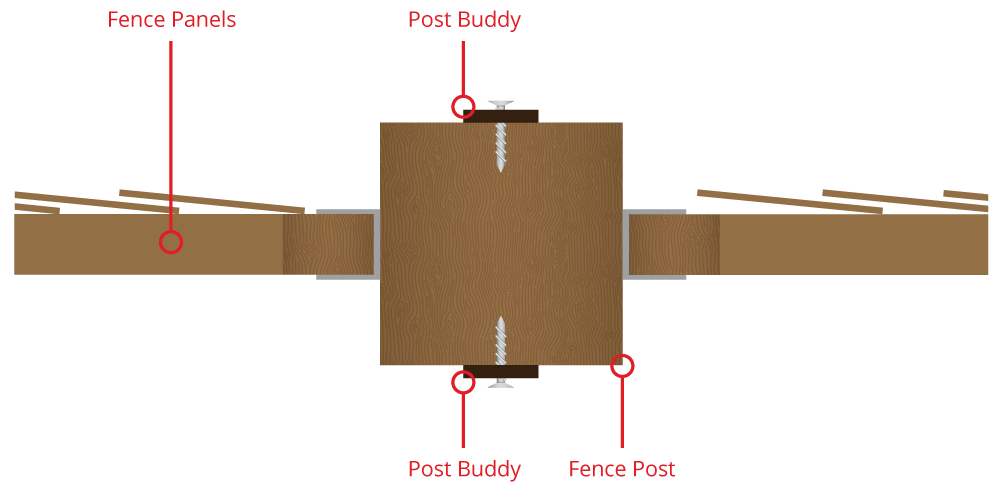
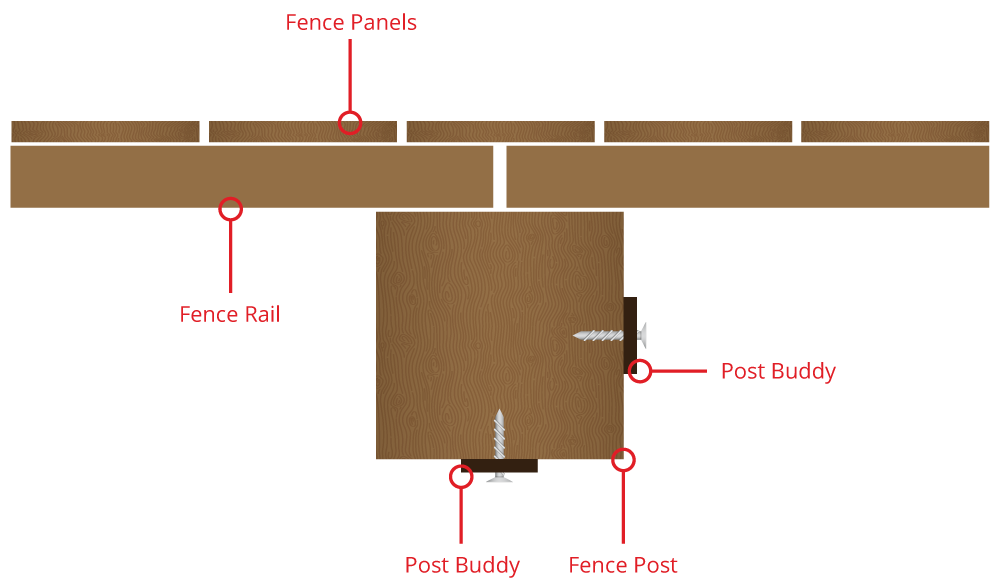
- Study the diagrams above to work out what type of fencing you have and decide where you need to position your Post Buddy stakes
- Remove enough of the soil from around the base of the fence post to expose the top of the existing concrete
- Place the tip of the 1st Post Buddy stake in position against the wood of the fence post where it meets the concrete base
- Drive the Post Buddy into the below ground wood of the fence post as far as it will go, but no further than the ‘MAX’ line (Heavy duty protective gloves should be worn) * **
- Repeat steps 3 and 4 with the 2nd Post Buddy
- Pull the post straight. Loosely attach a screw to the fence post through the centre of the elongated hole at the top of each Post Buddy stake using good quality external grade wood screws, measuring 5mm x 50mm
- Now the Post Buddys are loosely attached, the screws can move in the elongated holes to allow final adjustments (with the aid of a spirit level)
- Keep the post straight, fully tighten the screws in the elongated holes and finally secure the repair stakes to the post through the remaining screw holes
- Your timber fence post is now securely fixed
* As with any device driven into the ground, satisfy yourself that there are no services within the vicinity (such as, but not limited to gas, electrics, water, waste) before beginning the installation.
** The inevitable effect of using a club hammer to drive in the post buddy is that the paint may chip at the top edge. This will not affect the functionality.

